The application stage of jointing process has been categorized in the following stages:-
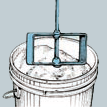
your results will improve if you stire the compound with a mixing paddle chucked into an electric drill

Begin work on the butt joints with a 5-in,knife.Scrape the excess compound off both corners of the knife.
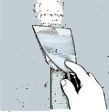
Start at one end the butt joint and apply the compound. Used one long stroke until the knife is empty.
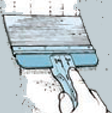
After the tape is embedded in the compound ,cover it with another coat of compound using an 8-in knife.
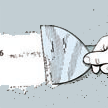
When all the butt joints are finished,proceed to the tapered joints. Using a 5-in knife,first fill the tapered area.
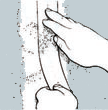
Once the entire joints is covered smoothly with compound, Cut piece of tape and embed it over the joint line.

